How to create an in-cell dropdown list on Google Sheets
A dropdown list in Google Sheets makes it easier for you to pick an item in a cell, rather than typing in the text manually.
A dropdown list on a spreadsheet can help you sort and prioritize items. Instead of typing tasks repetitively, creating a dropdown list in a cell on a spreadsheet can make it easier to select from a predetermined list. Google Sheets provides useful ways to create your own dropdown lists.
Why is a dropdown list useful?
When you’re busy and don’t want to spend too much time inputting data into a spreadsheet, a dropdown list can make it easier to pull responses from a defined list of answers. A dropdown can be a simple “yes” or “no” response to a question, or it can provide a variety of options.
The spreadsheet version of the following tutorial can be downloaded here. Make a copy of the worksheet by selecting "Make a copy" from the drop-down in the File menu.
Related: How to create a stock tracker with live data using Google Finance
How to create an in-cell dropdown list
To create an in-cell dropdown list on Google Sheets, create a new sheet with your Google (GOOG) - Get Free Report account. This can be done by typing sheets.new into your browser’s URL bar, or by going into your account on Google.com or Gmail and clicking on the Google Apps icon on the upper right of the browser page and selecting Sheets.
Dropdown within a cell
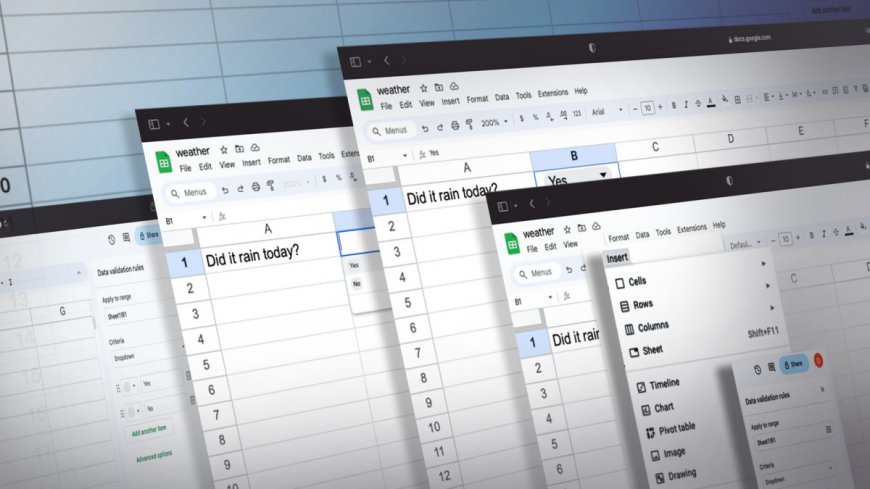
In the blank spreadsheet, select a cell to create the dropdown. In the menu bar, click on “Insert” and select “Dropdown”. At the top of the right side of the screen, the title “Data validation rules” appears, and below it is a set of parameters. “Apply to range” points to the cell or range of cells selected, and the “Criteria” is “Dropdown” with a set of options below. Inputting text into Option 1 and Option 2, and then clicking “Done” at the bottom of the sidebar will create the items in your dropdown. 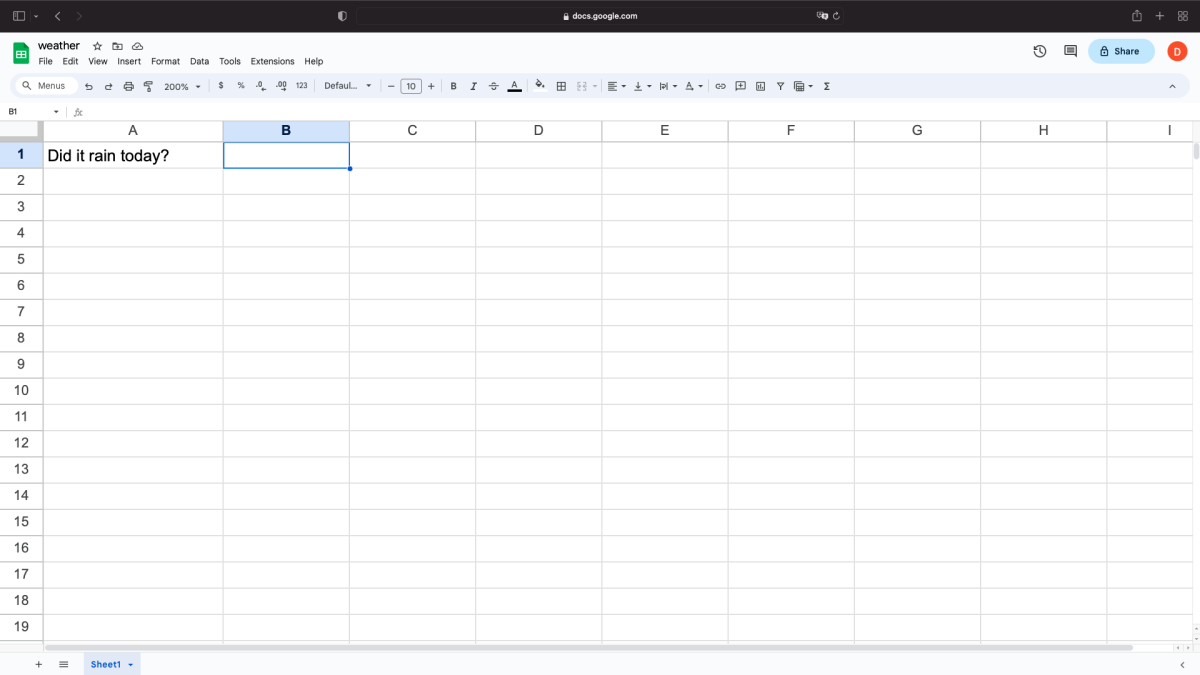
In a sample dropdown of a spreadsheet titled “weather,” cell A1 will have the question, “Did it rain today?” The adjacent cell, B1, will contain the answers, "Yes” or “No.” In B1, after selecting Dropdown from Insert in the menu, the “Data validation rules” sidebar appears to the right of the spreadsheet, and the cell is identified in “Apply to range” and the Criteria is “Dropdown.”
In the field where Option 1 appears, type "Yes," and in Option 2, type "No." Click on "Done" at the bottom of the sidebar, and the dropdown now appears in cell B1. The cell appears blank but is shaded in gray with the dropdown icon on the right side. From there, "Yes" or "No" can be picked.
Dropdown from a range of text
Creating a dropdown from a range of texts is similar to the process of creating one within a cell, but this allows you to pick items from a range in a spreadsheet rather than creating additional fields for separate items and inputting each item. It's particularly useful when the selection of items is long.
Create another sheet by clicking on the plus icon (+) at the lower left of the spreadsheet to “Add Sheet.” The new spreadsheet will be labeled Sheet2. In Sheet1, pick a cell for the dropdown to appear. In Sheet2, type the text in a range of cells for the items to appear in the dropdown. Going back to the selected cell in Sheet1, those dropdown items will appear. A range of responses can be made to answer "Was the rain heavy?" 
In the same sample spreadsheet titled "weather," add a new sheet, which will be titled Sheet2 in the bottom bar.
In Sheet1 in cell A3, type “Was the rain heavy?” In Sheet2, in cell A1 type, “Yes” and below that in A2, type “No.” Going back to Sheet1, click on B3, and then pick “Dropdown” from “Insert” in the menu bar. The “Data validation rules” sidebar appears on the right side of the screen, and the cell “Sheet1!B3” appears in the “Apply to range” box. Go to Sheet2, and in the sidebar where “Criteria” appears. Click on the box where “Dropdown” appears, but click on “Dropdown (from a range)” in the selection.
A blank box then appears below that. Click on the grid icon on the right, and “Select data range” will pop up. A separate small window labeled “Select data range” will appear in the middle of the screen. Highlight the range of cells where "Yes" and "No" appear, and “Sheet2!A1:A2” will be shown in the small window. Click “OK” and that range will now appear in the sidebar.
To make the dropdown selection appear prominently on Sheet1, a color can be picked to the left of the selected text under the range box. After clicking “Done,” the dropdown list of “Yes” and “No” appears in the targeted cell, B3 of Sheet1.
In the sidebar to the right, two values for either dropdown will appear under “Data validation rules.”
Another example: Tracking daily activity
In this separate sample, you want to track your physical activity per day, in conjunction with monitoring your health and wellness via health-monitoring devices such as Apple Watch or Fitbit.
The distance from your home to work is a mile, and you have a variety of commuting options: walking, bicycling, train and/or bus, car or cab, and a combination of those. You may also walk during lunch to track the time spent, whether it’s less than 15 minutes or more.
You may also exercise before and after work and want to record the type of exercise as well as the duration. Over time, you will have a record monitoring your habits that you can track alongside your heartbeat, blood sugar levels, etc.
Again, the spreadsheet version of this tutorial can be downloaded here. Make a copy of the worksheet by selecting "Make a copy" from the drop-down in the File menu.
This is just one of many articles about easy to use tools in Google Sheets. Let us know what you'd like to see next. Email us here: [email protected]
What's Your Reaction?